Making use of vertical space
Posted in Projects on June 19th, 2016 by The Cyberwolfe
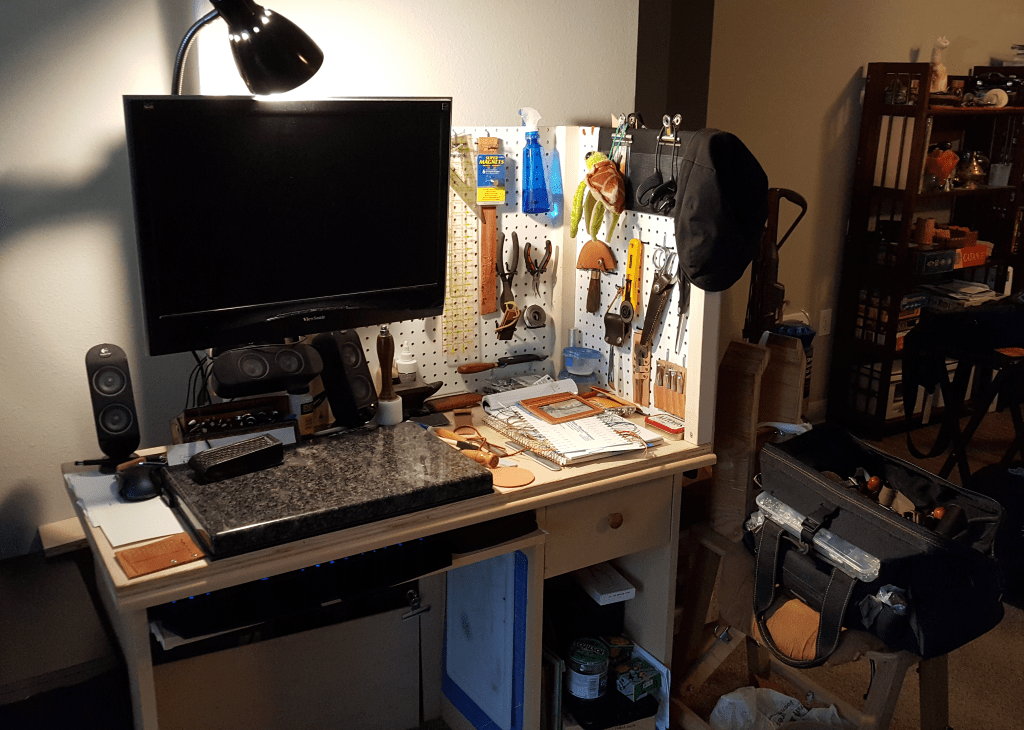
Since the move to the smaller apartment, the archery equipment has been relegated to the bedroom closet, and the Wife thought it should be out where people could see it – and more importantly, clear out valuable shelf space. With that in mind, I came up with using a couple of spare belt blanks to act as the anchors, and some simple loop-and-toggle pairs to secure the items to the straps.

Just a simple loop of lace wrapped up and around the toggle. Yes, my stamping is a little off. I wasn’t measuring.

Those toggles are just a strip of leather rolled up with a bit of lace run through it to secure the roll – and I just decided to do a tutorial on those as a separate post – come back tomorrow for that. Unless you’re reading this at some point in the future, in which case you probably just read it.
Timelines are hell.
Anyway, for those that are interested: Yes, I made the quiver on the right, see this post. The quiver on the left was left behind with the bottom bow.
From top to bottom:
- Das Flingenstick, a 35# English-style longbow. Red oak backed with linen.
- My daughter’s 25# Samick recurve
- A wimpy flatbow a buddy left behind when he moved out. It’s mostly decorative.